We offer a GraphQL API 🤓
PS: We also have a Norwegian version of this article.
Get started
1. Give your user access
Our API is user-based, so you access the API as the user you are in Numo. Your integration will then have the same rights as the user you are logged in as. If you want your integration to have limited rights, you can create a new user with those rights.
Numo has three ways to provide access
- Create a key directly on a user
- Use OAuth2
- Connect an AI assistant such as ChatGPT or Claude
Method 1, with a direct key, is the simplest and works well when:
- testing the API
- if you are creating an integration with little distribution,
- or you have good control over which users will use the integration.
Method 2, with OAuth2, is slightly more complicated to implement, and is best in those cases where the user himself should set up an integration you have created.
Method 3 requires no development at all. It sets itself up, and is described in Koble Numo til en AI-assistent (in Norwegian). If you want to use Numo from a coding agent such as Claude Code or Codex, see Koble Numo til kodeagenten din (in Norwegian).
To turn on the API for a user with a direct key, do the following
- Go to Settings > Users.
- Select the correct user
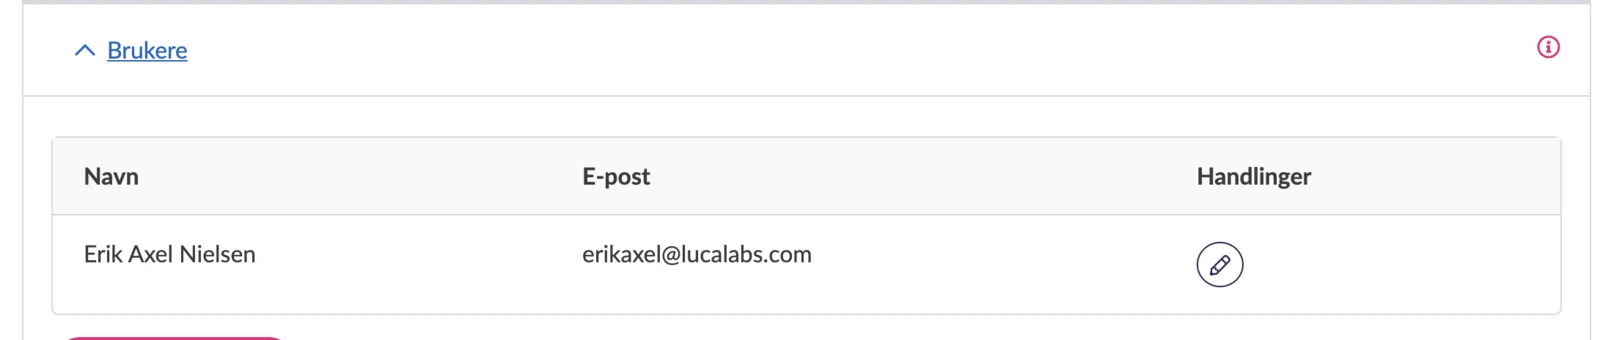
- Select Full access on API access

- Click save
Oauth2 setup is described in its own article. The whole flow is also available as working code in our example integration on GitHub.
2. Create API key
- Go to Settings → API settings (as the user who should have access)
- Under Personal access tokens, click on New personal access token
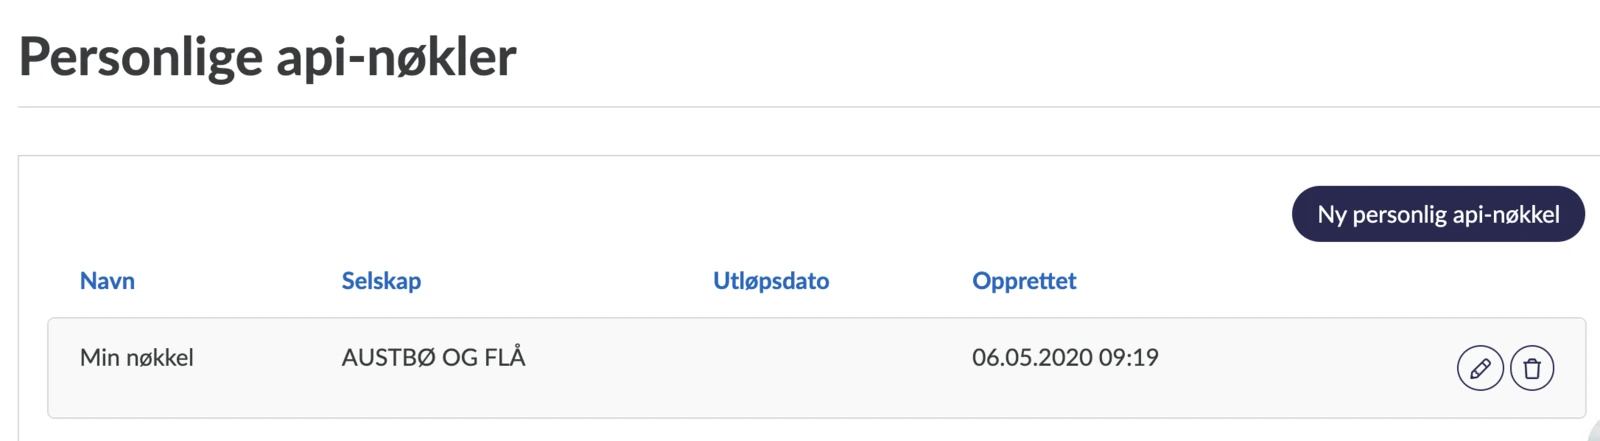
- Fill in Name (optional so you remember), expiry date (can be left blank if you wish) and which company it applies to (if you have several companies)
- Click save
- Save on the token that you then receive
3. Using the API key
The GraphQL API can be found at /api/v1/graphql (eg https://regnskap.numo.no/api/v1/graphql for production access). You have to set the header Authorization to be Bearer JWT_TOKEN where JWT_TOKEN is the token created in step 2.
4. First example call
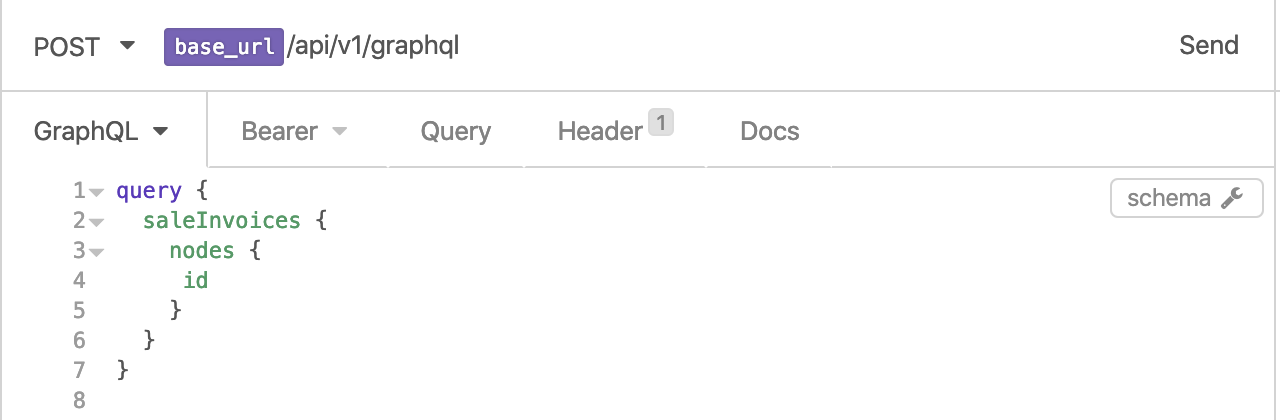
Now you should be able to run:
{ saleInvoices { nodes { id } } }
Documentation of available calls
You can use GraphQL’s built-in documentation server. Most API tools support this, e.g. in Insomnia,
press the schema button to pull up the documentation after you’ve set up:
Other API articles
- List of API functionality. (Norwegian)
- API pagination. (Norwegian)
Test server
Contact post@numo.no if you want to have access to our test server.